Marble is a timeless and elegant material that adds beauty and sophistication to any space. However, to truly showcase its grandeur, proper polishing is essential. In this guide, we will explore the top five techniques for achieving marble polishing perfection, allowing you to transform your marble surfaces into stunning works of art.
Technique 1: Surface Cleaning

Before diving into the polishing process, it’s crucial to start with a clean surface. Here are the steps to ensure a pristine starting point:
A. Gathering the necessary supplies:
– Soft-bristle brush or broom
– Microfiber cloths
– Gentle cleaning solution (avoid acidic or abrasive cleaners)
– Distilled water
B. Removing dust and debris from the surface:
– Begin by sweeping or using a soft-bristle brush to remove loose dust and dirt from the marble surface.
– Pay special attention to corners and crevices where debris tends to accumulate.
C. Preparing a gentle cleaning solution:
– Mix a small amount of mild soap or specialized marble cleaner with distilled water.
– Avoid using acidic or abrasive cleaners as they can damage the marble.
D. Applying the solution and scrubbing the surface:
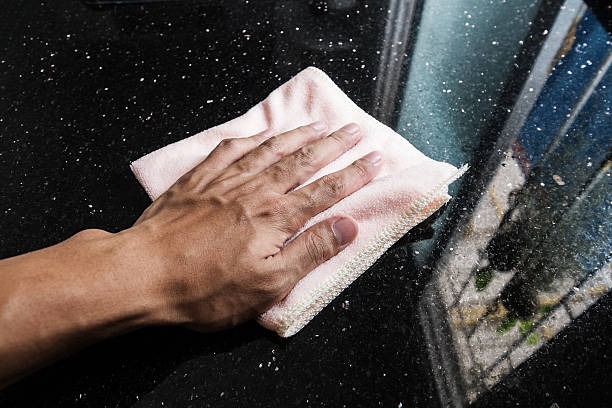
– Dip a microfiber cloth in the cleaning solution and wring out any excess liquid.
– Gently wipe the entire marble surface, focusing on areas with stains or spills.
– For tougher stains, allow the solution to sit on the surface for a few minutes before scrubbing with a soft brush.
E. Rinsing and drying the marble:
– Rinse the surface with clean distilled water to remove any residual cleaning solution.
– Wipe the marble dry using a clean microfiber cloth, ensuring no moisture remains.
Technique 2: Honing

Honing is a crucial step that helps to remove minor scratches, etches, and dullness from the marble surface, restoring its natural beauty and shine.
A. Understanding the purpose of honing:
– Honing involves using abrasives to smooth the marble surface and create a more uniform appearance.
– It helps eliminate small imperfections and prepare the marble for the polishing stage.
B. Selecting the appropriate honing grit:
– Choose the grit size based on the severity of scratches and dullness on the marble surface.
– Coarser grits (e.g., 200 or 400) are suitable for deeper scratches, while finer grits (e.g., 800 or 1500) are used for minor imperfections.
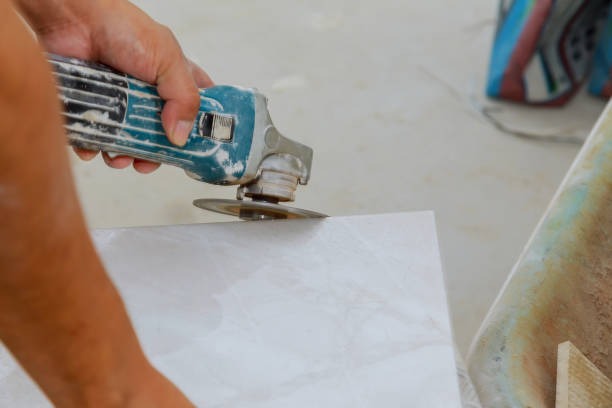
C. Preparing the honing machine:
– Attach the appropriate honing pad to the machine, ensuring it is clean and in good condition.
– Follow the manufacturer’s instructions for setting up the machine and securing the pad.
D. Performing the honing process:
– Apply water or a honing lubricant to the marble surface to reduce friction and prevent overheating.
– Move the honing machine in smooth, overlapping passes, covering the entire marble area.
– Gradually increase the grit size, repeating the honing process until the desired level of smoothness is achieved.
E. Inspecting the results and repeating if necessary:
– Once honing is complete, thoroughly inspect the marble surface for any remaining scratches or imperfections.
– If needed, repeat the honing process with a finer grit until the desired results are achieved.
Technique 3: Polishing
Polishing is the key step in bringing out the natural luster and shine of marble. Follow these steps to achieve a brilliant polish:
A. Choosing the right polishing compound:
– Select a high-quality polishing compound designed specifically for marble surfaces.
– Consider factors such as the type of marble and desired level of shine when making your choice.
B. Preparing the polishing equipment:
– Attach a clean, soft polishing pad to the polishing machine.
– Ensure the pad is securely fastened and free from any debris or contaminants.
C. Applying the polishing compound:
– Apply a small amount of the polishing compound directly to the marble surface.
– Spread it evenly using a clean, soft cloth or by gently running the polishing machine in circular motions.
D. Polishing the marble surface:
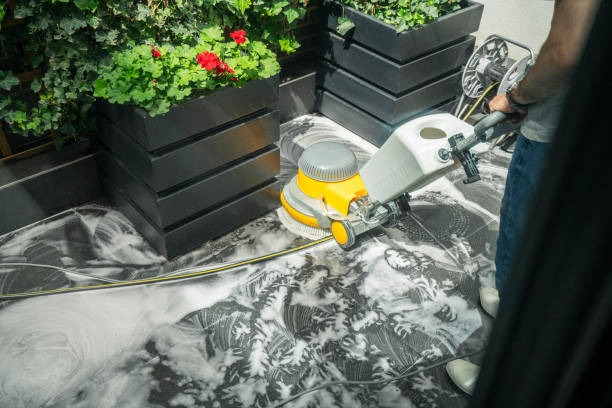
– Using the polishing machine, make slow and overlapping passes over the entire marble area.
– Apply even pressure and maintain a consistent speed to achieve a uniform polish.
– Pay extra attention to any areas that require more polishing.
E. Evaluating the shine and making adjustments:
– After completing the polishing process, inspect the marble surface under different lighting conditions.
– If necessary, repeat the polishing process with an additional layer of polish to achieve the desired level of shine.
Technique 4: Sealing
Sealing your marble surface is vital for protecting it against stains, etching, and other damage. Here’s how to effectively seal your polished marble:
A. Importance of sealing marble:
– Marble is a porous material that can absorb liquids and suffer from stains or etching.
– Sealing creates a protective barrier, reducing the risk of damage and making maintenance easier.
B. Selecting an appropriate marble sealer:
– Choose a high-quality, penetrating sealer specifically formulated for marble surfaces.
– Consider factors such as durability, ease of application, and the sealer’s compatibility with your marble type.
C. Preparing the marble surface for sealing:
– Ensure the marble surface is clean, dry, and free from any residue or polish.
– Use a soft cloth or brush to remove any dust or debris.
D. Applying the sealer evenly:
– Follow the manufacturer’s instructions for applying the sealer.
– Apply a thin, even coat of sealer to the marble surface using a clean cloth or sponge.
– Allow the sealer to penetrate the marble for the recommended duration.
E. Allowing the sealer to cure and checking for effectiveness:
– Give the sealer sufficient time to cure, typically around 24 to 48 hours.
– Perform a water droplet test to ensure the sealer is effective.
– If the water droplets bead on the surface, the sealer is working. If not, apply an additional coat of sealer.
Technique 5: Maintenance and Care
To preserve the beauty of your polished marble, ongoing maintenance and proper care are essential. Here are some key practices to follow:
A. Regular cleaning routines:
– Clean the marble surface regularly using a soft cloth or mop.
– Avoid using abrasive cleaners or harsh chemicals that can damage the marble.
B. Avoiding abrasive cleaners and tools:
– Steer clear of scrub brushes, acidic cleaners, or abrasive materials that can scratch or etch the marble surface.
C. Using coasters and protective mats:
– Place coasters under glasses and use protective mats or pads under hot objects or heavy items.
– Preventing direct contact with the marble helps to avoid stains, scratches, and damage.
D. Promptly addressing spills and stains:
– Clean up spills immediately to prevent them from seeping into the marble.
– Use a soft cloth or sponge and a gentle cleaning solution to blot and clean the affected area.
E. Periodic resealing and professional maintenance:
– Monitor the condition of the sealer and reapply as necessary to maintain protection.
– Consider periodic professional maintenance, such as honing and polishing, to restore the marble’s original beauty.
Conclusion
Mastering the art of marble polishing is a rewarding endeavor that allows you to unleash the full potential of this exquisite material. By following these top five techniques, you can achieve marble polishing perfection and create awe-inspiring spaces that showcase the timeless elegance of polished marble. Embrace the process, invest in the right tools, and revel in the beauty and durability of your brilliantly polished marble surfaces.

